

For more great plans click on the banner below.
|
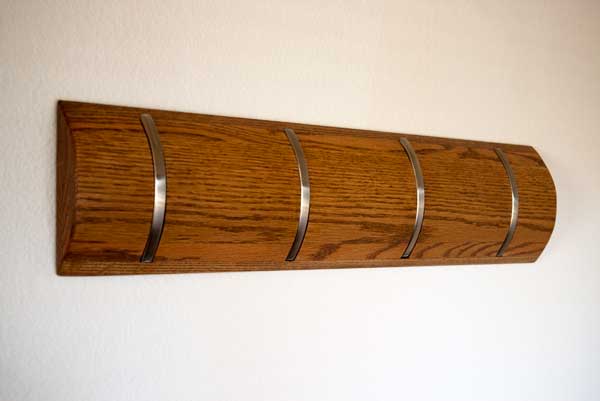
Our new fifth wheel trailer is really nice and well appointed but it didn't have a coat rack. Inspired by a similar coat rack we saw at a restaurant I set out to make one. This is not a simple project but when complete it's well worth the effort.
A couple of comments about this project:
Materials:
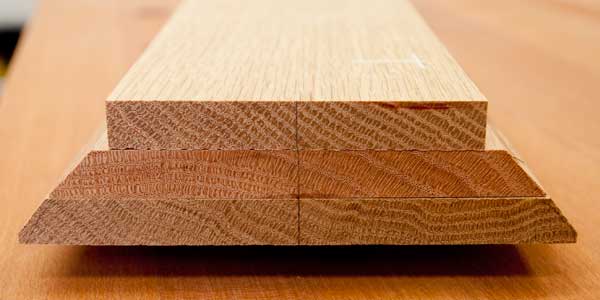
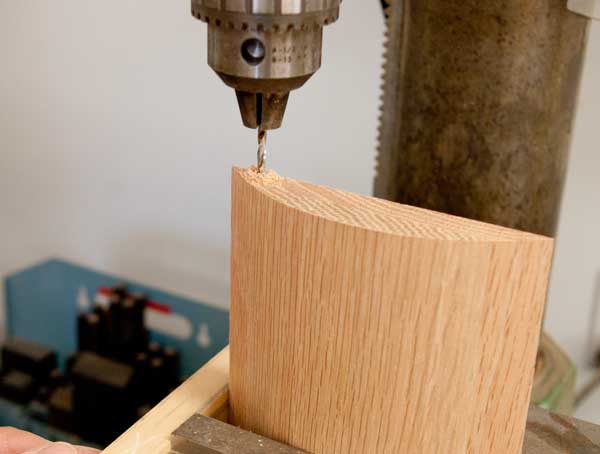
 Remove excess material along both edges of the Bottom piece with the tablesaw blade set at 51°.
 There should be a 1/8" edge between the bottom of the Bottom piece and the start of the angel.
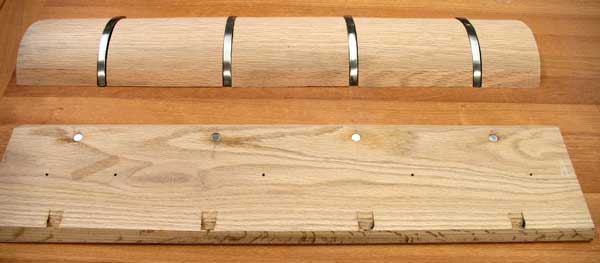
 Center the Top piece onto the Middle piece. Drill and counter sink for screws along the back. Drill the holes 1 1/2", 6 1/8", 12 1/8", 18 1/8", 22 3/4". Glue and screw them together.
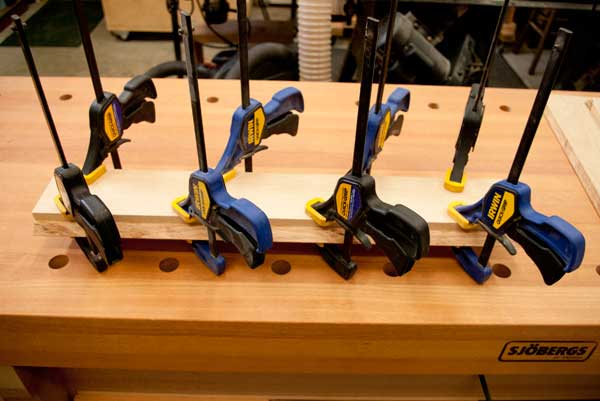
Center the Middle piece to the Back piece. Drill and counter sink for screws along the back. Drill the holes 2 1/8", 5", 11", 17", 22". Screw them together, DO NOT GLUE.
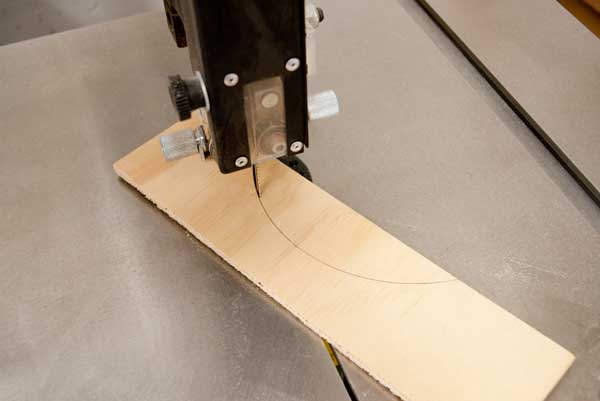
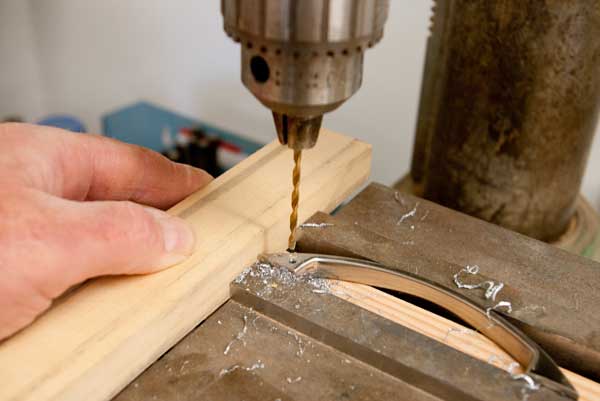
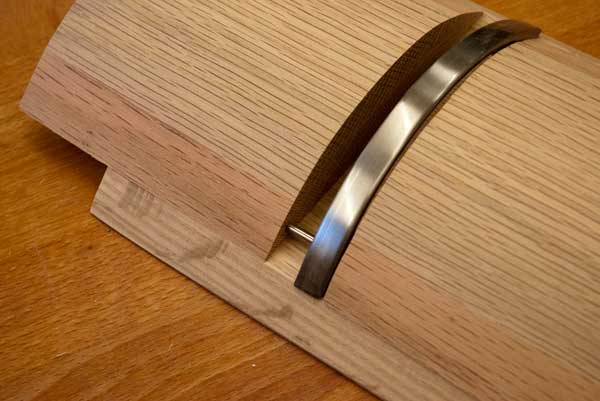
 Cut out the template on the band saw.
 Bandsaw, Plane, grind, sand and scrape to achieve the contour of the handle. Use the template to help keep the shape even across the length of the rack.
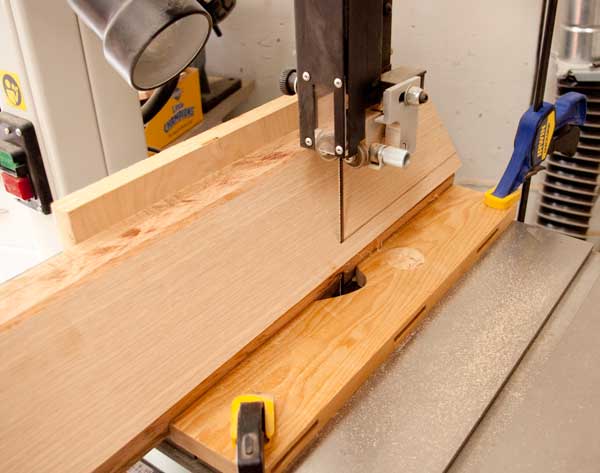

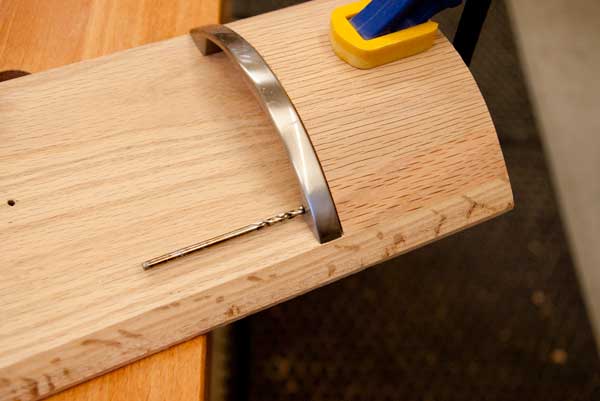
Once the contour is perfect separate remove the Bottom piece.
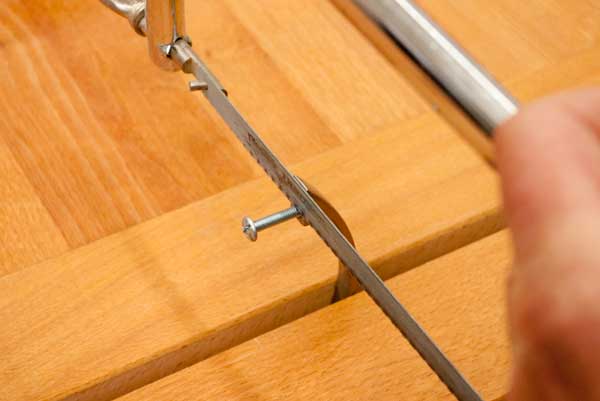 Cut the screws flush to the handles and file flat.
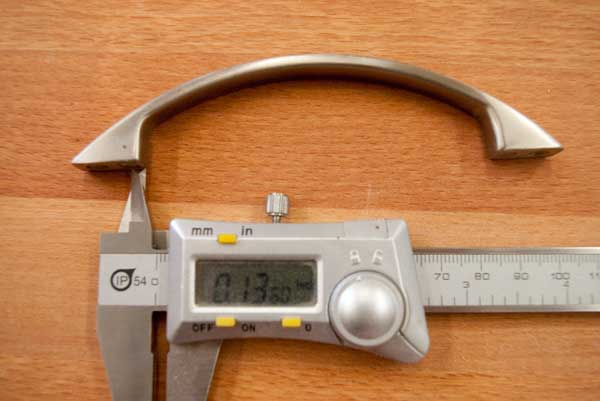
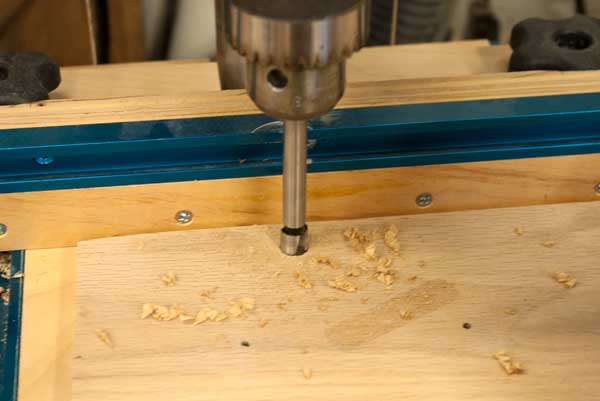
 Drill a hinge pin hole in one end of each handle. To locate the hole find the middle of the screw and mark it on the side of the handle.
 Make a jig to hold the handles during drilling so each one is identical. Drill one 1/8" hole through the bottom tang of the handle.
Cut 1/8" diameter steel pins 1 1/2" long, smooth the ends.
 Use the hinge and a drill bit to mark the location of each hole. From this point on keep track of each handles location so that they will match perfectly when assembled.
Drill the holes for the handle pins 1/8" X 5/8" deep, there will be eight holes.
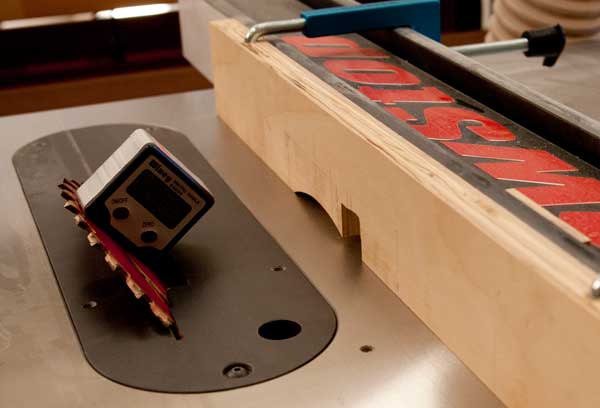
 Now make the fixture.
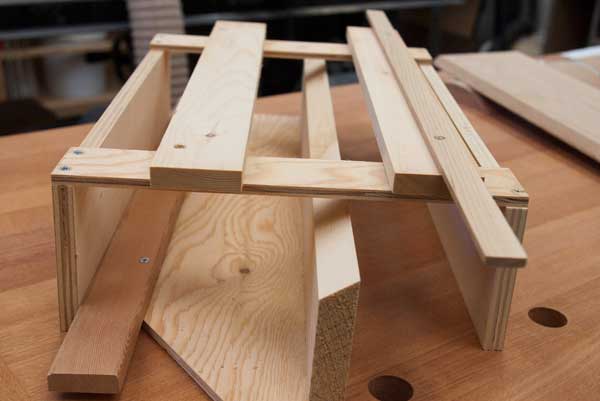 The dark piece on the bottom left is the stop for the piece. The angled piece in the middle is to support the side of the piece.
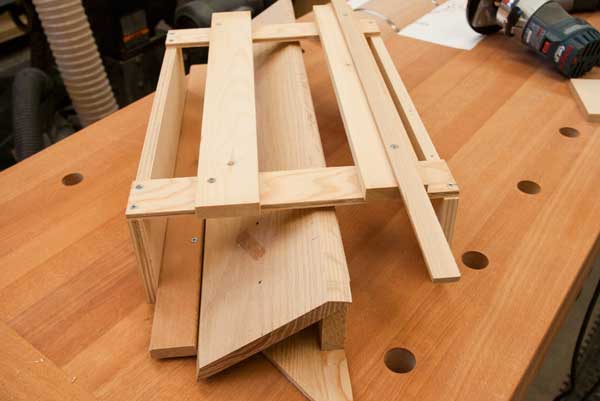 The palm router will rest on top of the fixture.
 I used a piece of wood across the fixture to locate the edge of the router and a piece along the right side to stop the router.
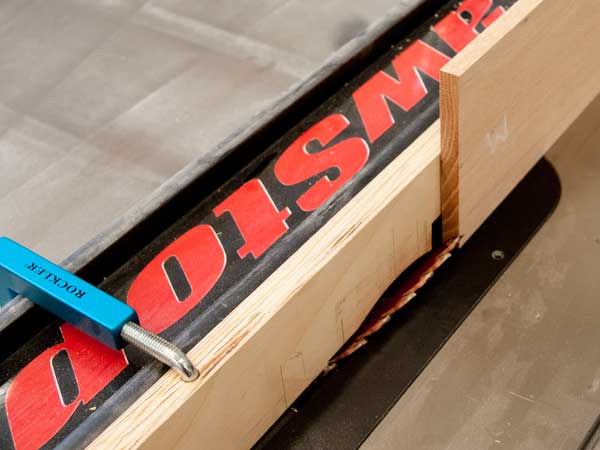
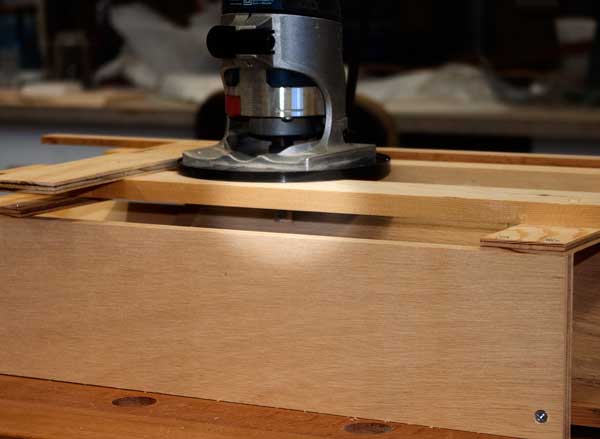 Here you can see the cut being made. When you have all four notches cut it should look like this.
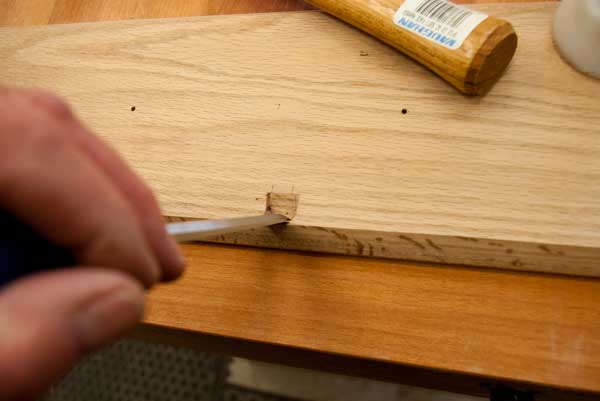
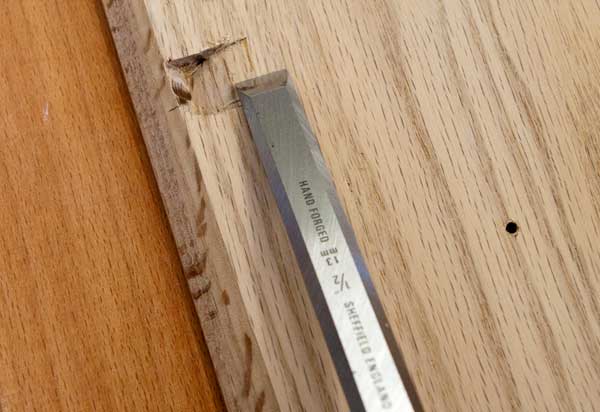
 There is still some work that needs to be done on the holes and I used a chisel to square the holes and fine tune them. Be careful that the cutouts do not go below the edge of the wood.
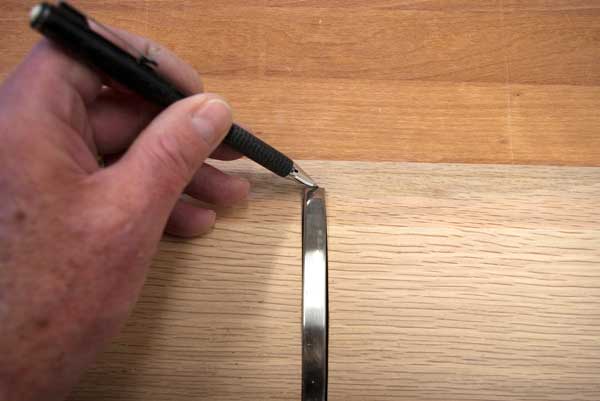
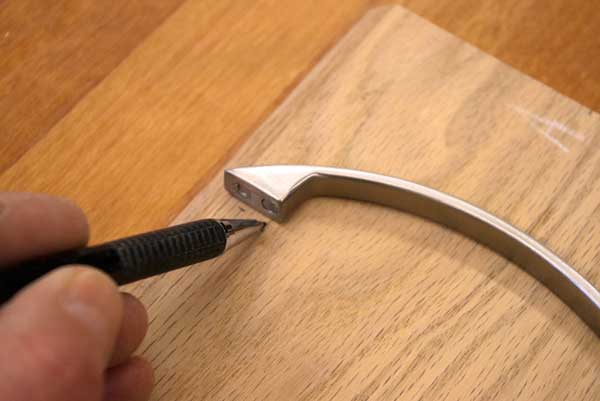
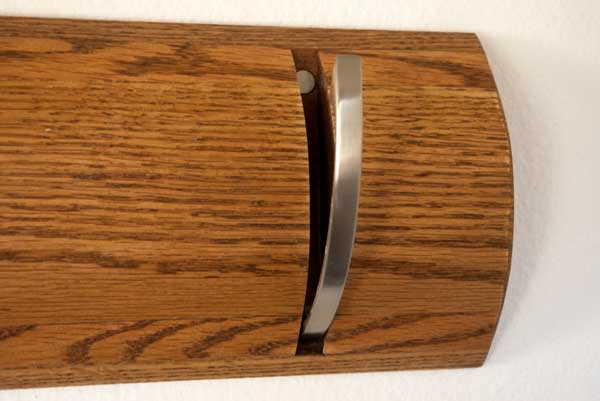
 Using the hinge with the pin into each piece I "tuned" each hole until all the handles opened the same amount.
 To locate the placement for the magnets, align the pieces with the handles and mark the center of each handle gap near the top of the cutout for the handle.
 From that mark I measured down the distance to the screw in each handle and drilled a 3/8" hole the depth of the magnet with a Forstner drill bit.
 I roughed up one side of the magnets and epoxied them into the holes.
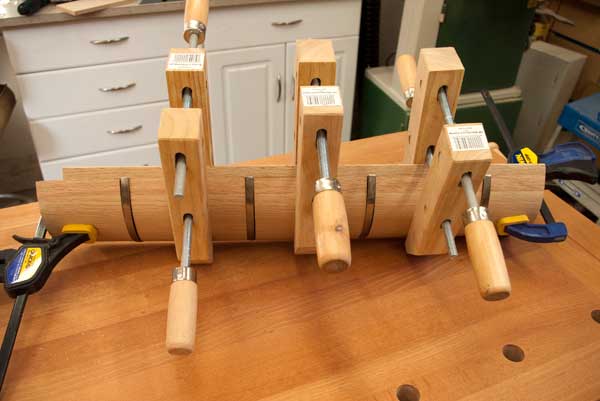
Assemble everything with screws but DO NOT glue yet.
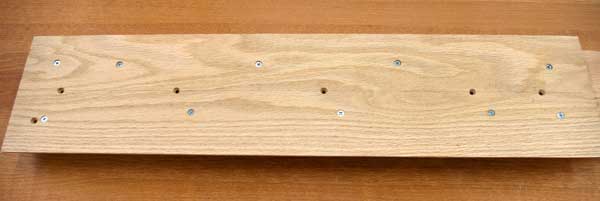
 Drill and countersink two screws in opposite corners of each piece.
Take it apart and remove the handles. Reassemble and cut the long top piece flush with the end.
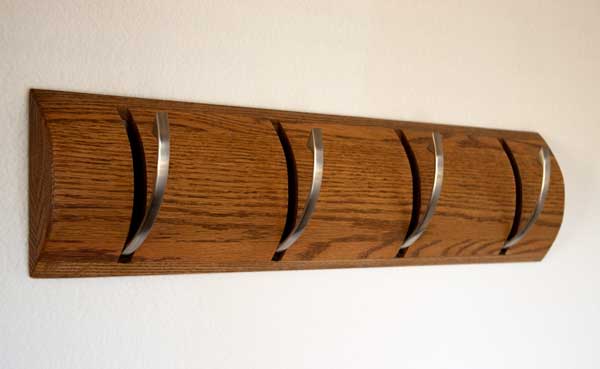
We hope you liked this project. If you build it and your friends ask where you got such a clever idea, please tell them that you got it at RunnerDuck.com.
|

|
The AllAmerican RunnerDuck Review Visit our Blog, www.runnerduckreview.wordpress.com, and sign up to receive notifications when it is updated. Our newsletter is a monthly blog with woodworking projects, crafts, recipes, and more. When you get to our blog just enter your email address and click "Sign Me Up". This is what it looks like:

|