

For more great plans click on the banner below.
|
|
 This project is one of those idea projects where we leave the design up to you. We'll give you the steps we went through to help make your project a little easier and pointing out some of my tips and tricks. Here's what you'll need:
Wood for the hangers, I used 3/4" Red Oak When I first approached this project I thought I'd use a template and flush router bit to shape the parts. After much effort I decided it was not the way to go. While trying to very carefully route around the corners the router bit grabbed the wood and split the hook off. It also scared the hell out of me.
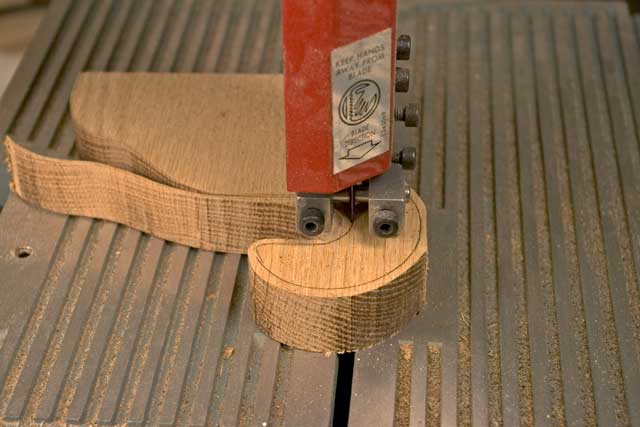
Next I decided to cut out my hangers on the band saw and sand them. This turned out to be a much better idea.
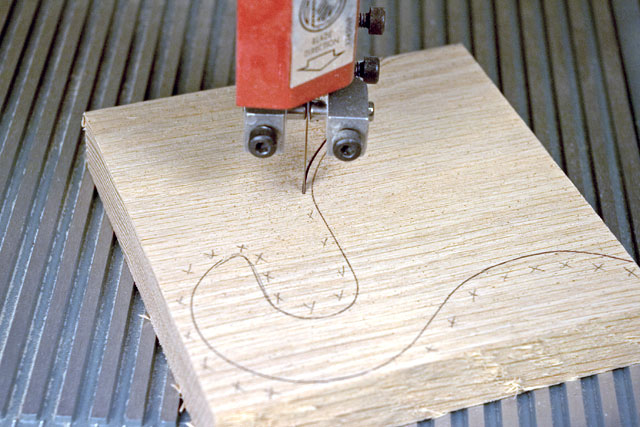
Once I got it cut out I sanded it with sanding drums.
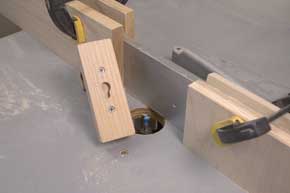
  Long Sanding Drums and Sleeves Next I used a small round over router bit to radius the edges of the hangers.
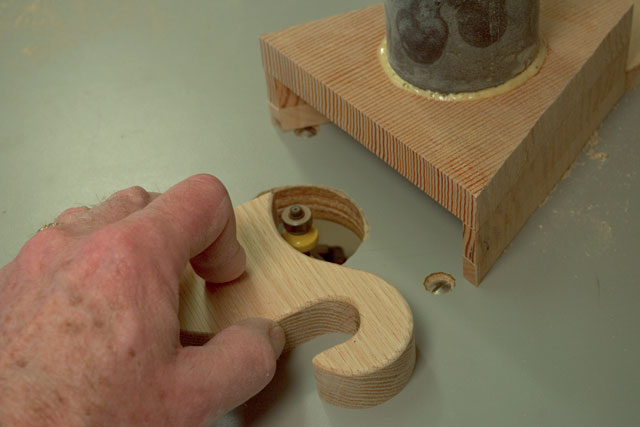 Notice the vacuum for the router, that was one of our previous projects in our newsletter from September 24, 2004
Next I made the back for the hanger. Just cut your piece to the size that fits your hangers.   Irwin® Quick-Grip® 6'' Mini Bar Clamp Mark the rest of the hangers using a square. This makes them all the same and you don't have to measure each one.
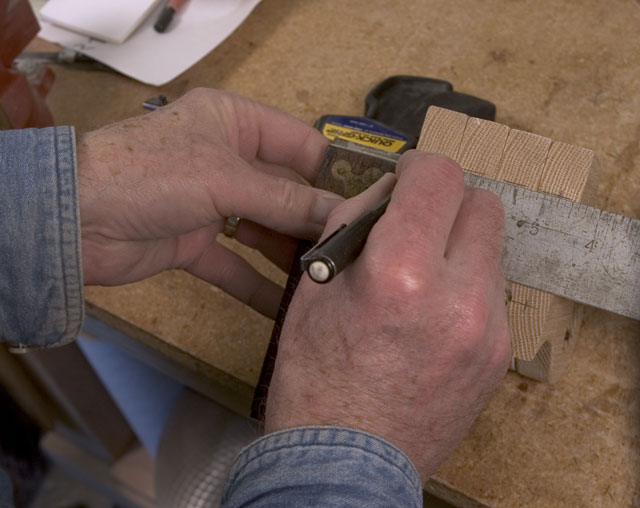 I used my handy dandy Incra Precision T-Rule to mark the centers of the hangers.
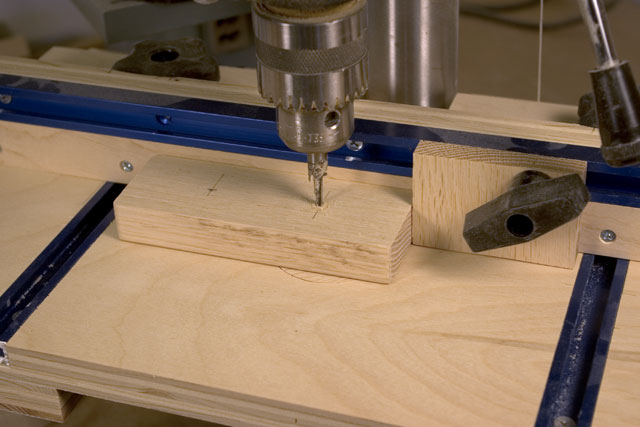
  INCRA Precision T-Rules Figure out where you will need to drill the holes in the back pieces to center the hangers. Set up your drill press table to drill two holes centered and evenly spaced from the back side.(you did make a Drill Press Table from our plans didn't you?) Counter sink these holes so the flat head screws will be flush or below.
Sand everything smooth before you assemble the pieces.
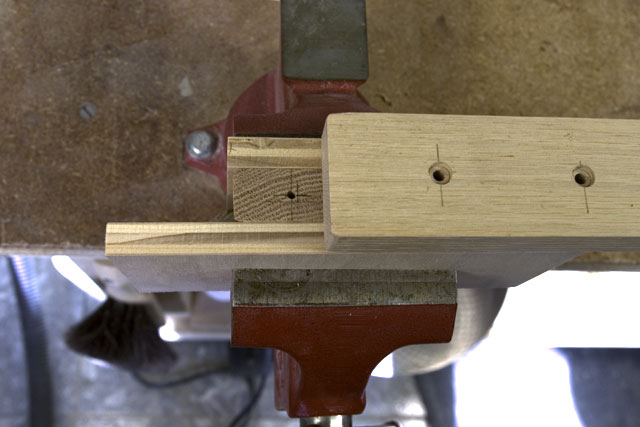 Insert a screw through the back and into the one hole in the hanger.
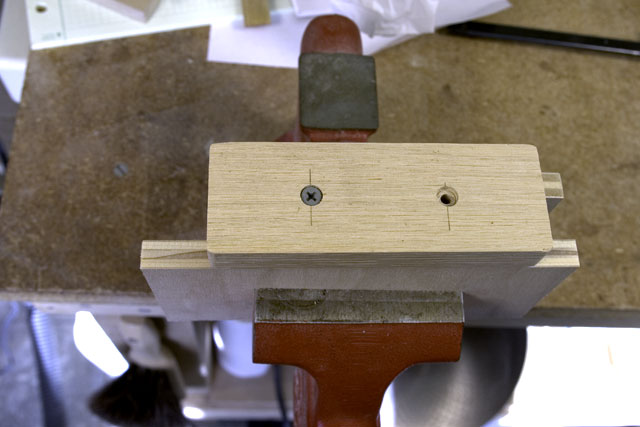
Drill the second pilot hole using the back as your guide and install the second screw.
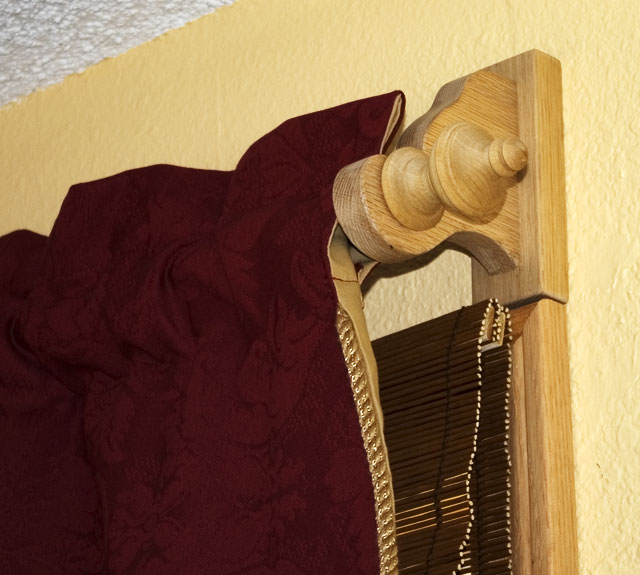
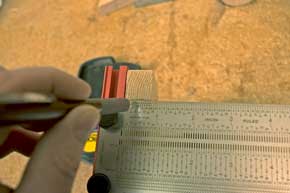
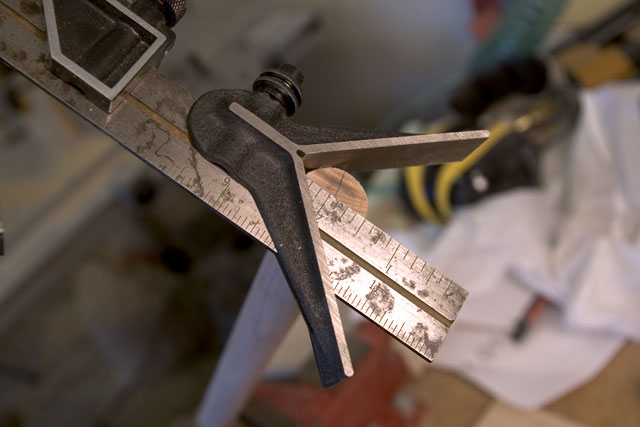
  Hanging Slot Router Bits For the curtain rod I added Finials to the ends. The first thing you need to do is find the center of the dowel. I used the Center Head on my try square. You can get these at Rockler for about thirty bucks but if you don't think you'll use one that much they have a slick little plastic one for about $2.50.
Drill a hole in each end of the curtain rod to fit the end of the Finial.
  Sanded Finials
Depending on the size of the pocket in the drape you may not want to glue in the finials. That's about it. We hope you liked this project. If you build it and your friends ask where you got such a clever idea, please tell them that you got it at RunnerDuck.com.
|

|
The AllAmerican RunnerDuck Review Visit our Blog, www.runnerduckreview.wordpress.com, and sign up to receive notifications when it is updated. Our newsletter is a monthly blog with woodworking projects, crafts, recipes, and more. When you get to our blog just enter your email address and click "Sign Me Up". This is what it looks like:

|