

For more great plans click on the banner below.
|
|
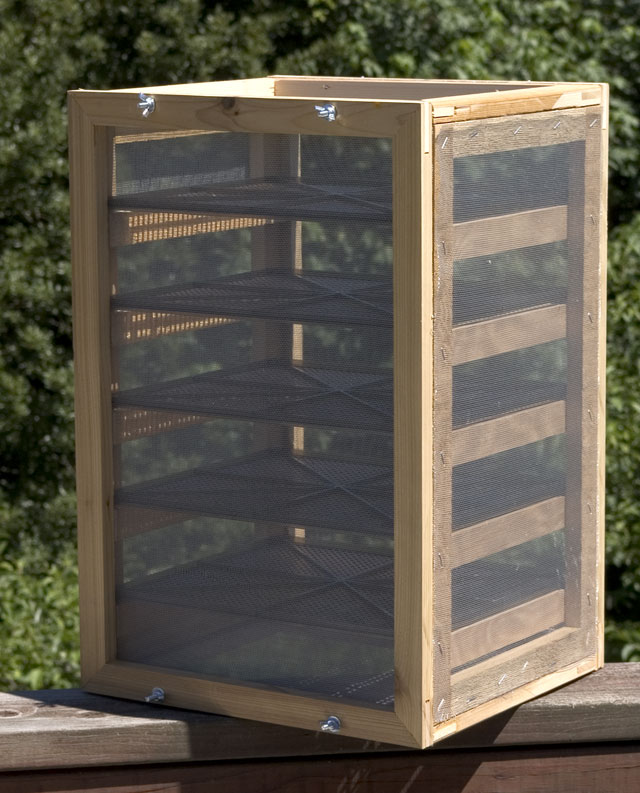
 Like many of my projects this one was inspired by Marilyn who this time needed a replacement dehydrator for an old electric one she had that died. Her requirements were that it needed to be an air dry dehydrator that would keep the bugs out and would break down flat when not in use. By golly I believe I did it!
 This project will give you a lot of experience in frame making. By the time you are done with it you will have made eleven frames. I got lucky because Marilyn already had the trays for the fruit to sit on so I didn't have to make those frames. Everything is made out of 3/4" cedar cut 1 1/4" wide. Of course you can use any wood of your choosing but the cedar is light, lasts a long time and I like the way it smells. I don't know that the smell gets into the fruit at all but it's a nice thought.
Here's what you'll need:
Like I said, this is a project of frames. Build the following eleven frames: You can join the corners of the frames any way you like but I used splined miter joints made with my handy dandy tenoning jig.

I cut a 1/4" miter in each corner and glued in a 1 1/2" x 2 1/2" X 1/4" spline. I clamped each frame as shown below. Be sure to square it up by measuring from corner to corner before the glue starts to set up.

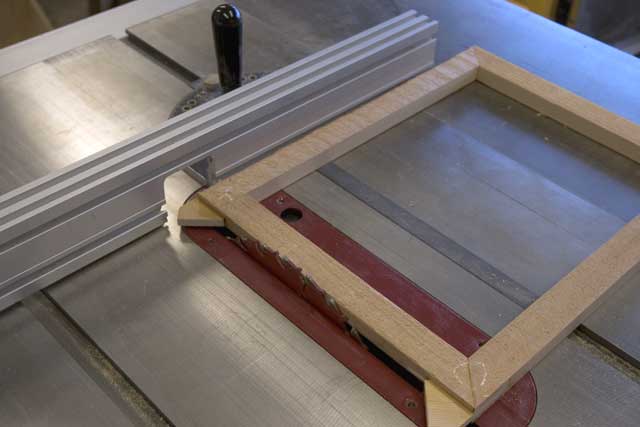
Trim off the splines on the table saw. Use a cripple to space the edge of the frame away from the fence to clear the splines.
 Flip the frame over and trim the other side. Then rotate the frame 90 degrees and using the miter trim off the remaining two sides.

Next we need to build the sides. In hind site I should have put the screen between the shelf rails and the uprights. Instead I stapled it to the outside. I'd suggest you capture the screen between the shelf rails and the uprights.
 Cut the shelf rails 1 1/4" X 20". Glue and nail them onto the frame. Start the bottom shelf 2 1/2" from the bottom to the TOP of the rail. Space all the other rails 3 1/2" from rail top to rail top. Locate and drill four holes in the top and bottom frames. These holes will be 5/16" diameter by 7/16" deep. Wrap a piece of tape around the bit to mark the depth. The holes should be 5/16" in from the sides and 5/8" from the front and back.

Mark the center of the holes on each upright using a dial caliper. I made mine a little different so I didn't have the full side frame together when I drilled these holes but you should.
 Drill a 1/4" hole 3/4" deep in the center of each end of the side frames.

Cut eight 1/4" dowel pieces 1 1/16" long.

Mark 3" in from each corner and 5/16" down on the front and back frames. These will be for the screws that hold it all together.

Run the screws in until they just start to protrude from the other side of the piece of wood.

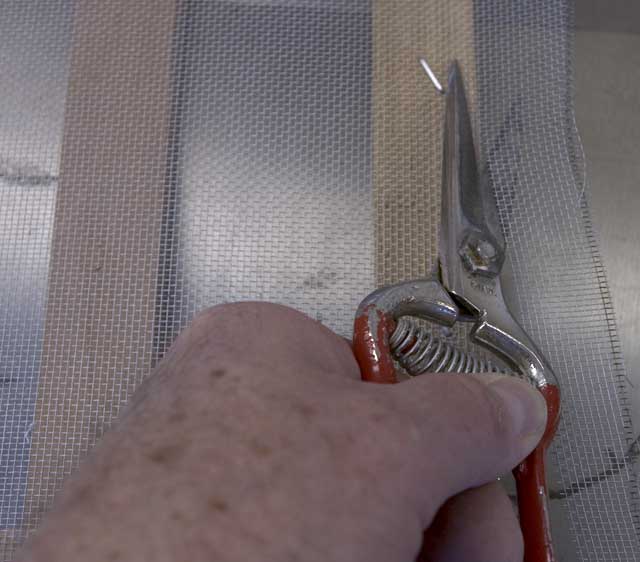
Clear out the holes in the screen on the front and back so they will go through the screws. I also cut the screen off the corners of the top and bottom. That's about it. We hope you liked this project. If you build it and your friends ask where you got such a clever idea, please tell them that you got it at RunnerDuck.com.
|
|
The AllAmerican RunnerDuck Review Visit our Blog, www.runnerduckreview.wordpress.com, and sign up to receive notifications when it is updated. Our newsletter is a monthly blog with woodworking projects, crafts, recipes, and more. When you get to our blog just enter your email address and click "Sign Me Up". This is what it looks like:

|