

For more great plans click on the banner below.
|
|

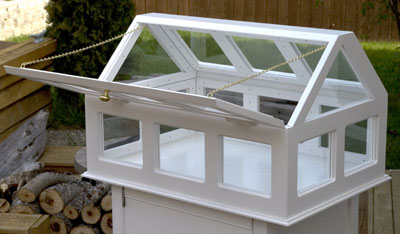
We struggled with what to call this project, is it a greenhouse or an atrium. Because it's not sealed or intended to create its own weather we called it a "greenhouse".
Here's a rendering of the greenhouse as I started the project.

I made everything out of 3/4" hemlock and would probably not do that again. While hemlock is a nice straight grain wood to work with this project has many sharp edges and I found that the hemlock has a tendency to split along sharp edges.
 Plate Joinery Biscuits
To solve this problem I sanded the biscuits smaller on my belt sander.
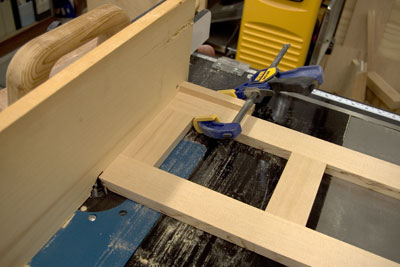
 Once this problem was resolved I cut in the smaller biscuit slots and glued the sides.
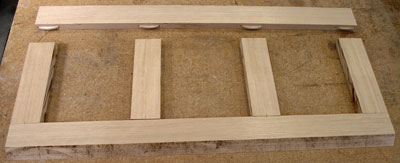 My design worked out so that I had 45 degree angles for the top, that made setups on my tablesaw a lot easier. I cut the vertical pieces 7 1/4" X 2". The top and bottom pieces were cut with opposing 45 degree angles.
 I used the same sanded down biscuits, glued and clamped the top two sides.
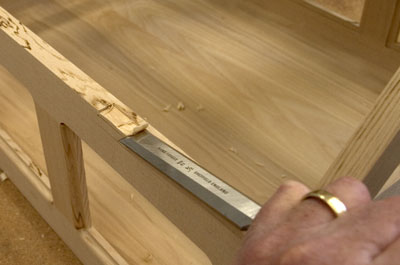
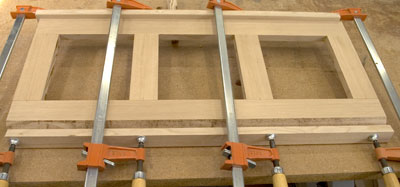 Due to some slight "variations" I sanded the sides and tops flat with my belt sander.
 Porter-Cable 371K Compact Belt Sander
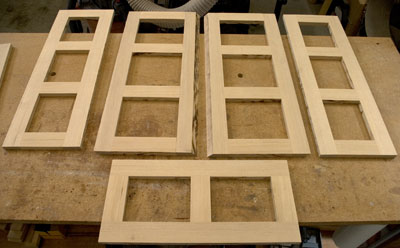
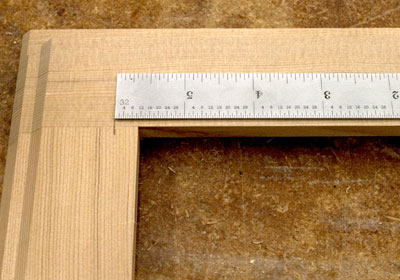
Here's what the sides, tops and one end look like laid out.
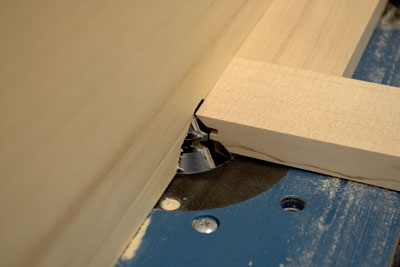
 Next I cut the corners using a 45 degree lock miter router bit.
 45° Lock Miter Router Bit
The set up for this bit is very critical just a little bit off and you have an ugly corner.
Another thing to keep in mind is "DO NOT" run a piece through the router twice, it will make the piece shorter and really screw things up, again speaking from experience!
 I also made a tall fence to support the ends which were routed standing on end.
 I made the fence by screwing a tall piece of plywood onto a smaller 3/4" piece of wood. To hold this fence to my router fence I used those handy little fence clamps you can get at Rockler.
 Universal Fence Clamps I routed the outside of all the window frames using a roundover bit.

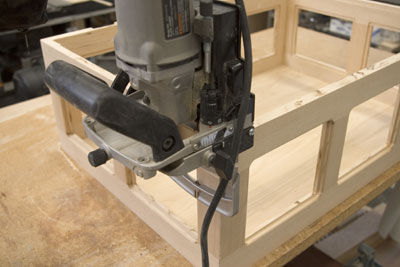
For the inside window frames I routed pockets for the glass to sit flush.
 I measured and marked the inset for the glass. Then I built a guide for my plunge router to track in.
 Porter-Cable 690 Series Router Combo Kits.
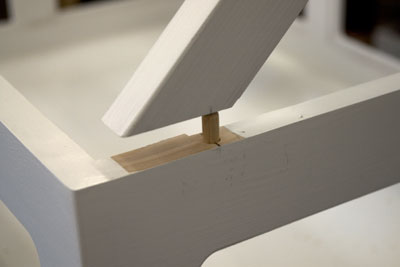
 To join the roof supports together I cut in slots and was going to glue in a piece of wood to tie them together.
 At this point I discovered that my two pieces didn't come together as planned. I must have made a mistake somewhere along the way. To correct the problem I made a spacer with "wings" to fill the gap and tie the two supports together.

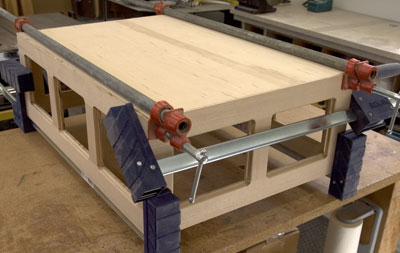
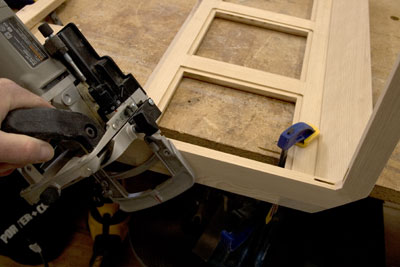
Now everything is ready to glue together. This required many clamps, glue and brads for the bottom.
I marked and chiseled in the pockets for the hinges.
To hold the windows in place I used some 1/8" plywood.

I cut 45 degree corners and flush mounted the center pieces.
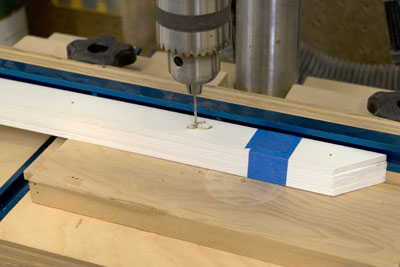
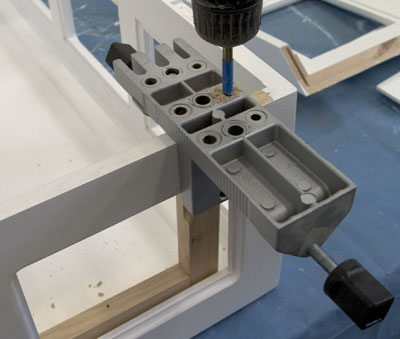
For the dowel pins I used a dowel jig and marked the drill bit with tape to set the depth.
 Dowel Pro Jig
Here's how it goes together.
Now it's time to paint but first I masked the edges that still needed to be bonded. I waited to put the roof on until after painting so that I could put the windows in after painting.
Here's what the painting part of this project looks like.

That's a bunch of painting!
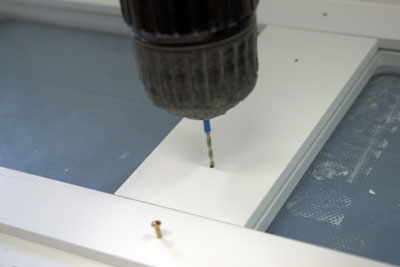
 I drilled through the holes into the cabinet to make hammering the brads in easier. I marked my drill bit with some tape to mark the depth.
 Once all the glass is installed I clamped the top onto the base.
 When I went to attach the hinges to the front door I discovered that the screws were too long and would go through the front. I ground them down to make them shorter but then they would not hold. To solve the problem I made trim pieces for the screws to go into.
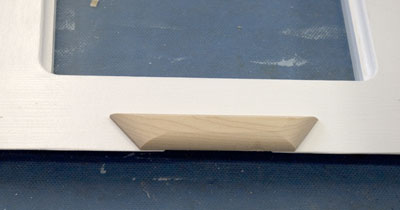 That solved the problem and I was good to finish the painting. This project turned out really nice despite all the challenges. I hope you get to build one of these and have the same success.
That's about it. We hope you liked this project. If you build it and your friends ask where you got such a clever idea, please tell them that you got it at RunnerDuck.com.
That's about it. We hope you liked this project. If you build it and your friends ask where you got such a clever idea, please tell them that you got it at RunnerDuck.com.
|


|
The AllAmerican RunnerDuck Review Visit our Blog, www.runnerduckreview.wordpress.com, and sign up to receive notifications when it is updated. Our newsletter is a monthly blog with woodworking projects, crafts, recipes, and more. When you get to our blog just enter your email address and click "Sign Me Up". This is what it looks like:

|