
|
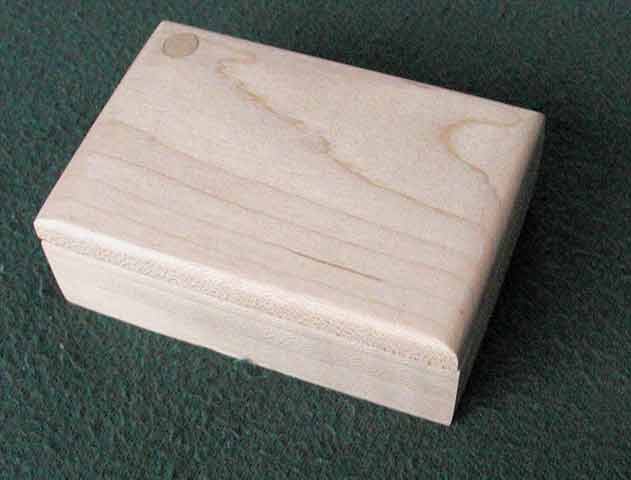
Some people don't believe in the tooth fairy but if you do here's a great place to put your tooth and for the tooth fairy to put your reward. When the day comes that you're not loosing any more teeth it makes a great little keepsake box.
 Here's what you'll need;
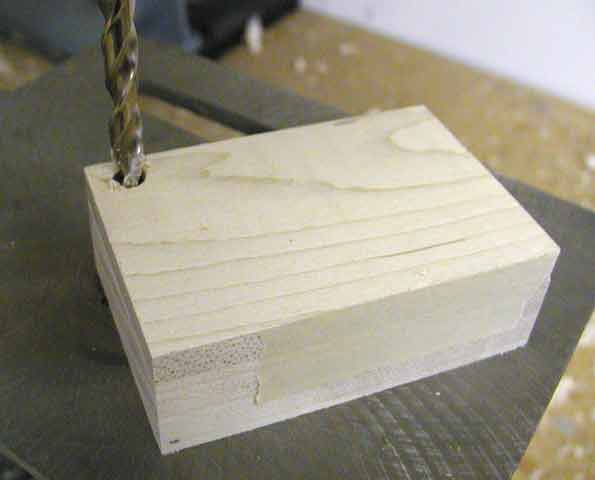
Cut a 1/4" piece of Maple 2" X 3" for the top.  Mark centers for two holes, centered 1" from each end. Drill two 1 1/2" holes into the box within 1/8" of the bottom.  Align the top and box pieces and tape them together. Mark one corner 1/4" from each side for the hinge. Drill a 1/4" hole through both the top and box within 1/8" of the box bottom.  Cut a 1/4" dowel 7/8" long. Sand it smooth to make it go in the hole a little easier. Do not hammer the hinge into the top. If you do it could split out the side (speaking from experience). You want it snug but not force fit. Glue the hinge into the top with a tiny amount of dowel sticking above the top. You'll sand it off later.  After the glue dries, sand the top flat. Radius the edges of the top using an 1/8" round router bit. Sand and stain the top and box. Twist the top hinge into the box. A little wax might make it work easier. You don't want it too loose though. Cut out a piece of felt to fit into the holes in the box. Glue it into place.  That's it! Now have your toothless child put their teeth in it and wait for the tooth fairy to come do it's thing. |
|
The AllAmerican RunnerDuck Review Visit our Blog, www.runnerduckreview.wordpress.com, and sign up to receive notifications when it is updated. Our newsletter is a monthly blog with woodworking projects, crafts, recipes, and more. When you get to our blog just enter your email address and click "Sign Me Up". This is what it looks like:

|