

For more great plans click on the banner below.
|
|
 If you need to do precision woodworking one of the necessary tools is a zero clearance tablesaw insert. The reason these are so important is because they help prevent tear-out on the bottom of the board that's being cut. They are simple to make and you should have one for each of you saw blades and different width dado cuts. Here's what you'll need:
Using a dial caliper measure the distance from the top of the tablesaw to the top of the pads that the insert sits on. 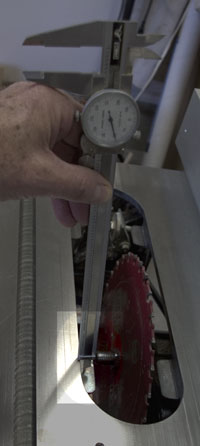 Measure to get the thickness for the wood insert
Plane down the piece of wood to that thickness.  Trace about 1/16" to 1/8" wider than the insert Cut out the insert staying just outside the line.
 Cut close to the line but on the outside Double back tape the metal insert to the cut out piece of wood.
 Three pieces are plenty Using a flush trim pattern bit in your router copy the metal insert to the wooden one. You can do this with either a top bearing or bottom bearing bit.
 Pattern match the metal insert
Remove the metal insert and see how it fits in the tablesaw. If it's too tight just some light sanding should make it fit.
Raise the blade through the insert
Slowly raise the blade through the insert until you get to the desired height. Go a little beyond and then back it down to where you want it.
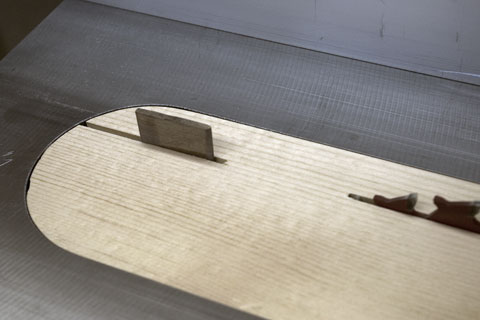 Glue in a spreader to prevernt wood buning Radius the end that is toward the saw blade and glue it into place. This will help reduce any burning if the wood tries to close up after it's been cut. Make a zero clearance insert for every dado with combination you plan to use and mark each insert with the with or blade combination. That's about it. We hope you liked this project. If you build it and your friends ask where you got such a clever idea, please tell them that you got it at RunnerDuck.com.
|


|
The AllAmerican RunnerDuck Review Visit our Blog, www.runnerduckreview.wordpress.com, and sign up to receive notifications when it is updated. Our newsletter is a monthly blog with woodworking projects, crafts, recipes, and more. When you get to our blog just enter your email address and click "Sign Me Up". This is what it looks like:

|