

|
One of the things that often get overlooked is the condition of your power tools. We get to working on projects and after a while start to wonder why those miters just don't quite come together. Pieces that use to fit seem to be off a little bit. Well it could quite possibly be that your power tools are starting to drift a little bit. Here's a list of what you'll need;
Set the DI so that it just touches inside of a tooth near the front of the saw. 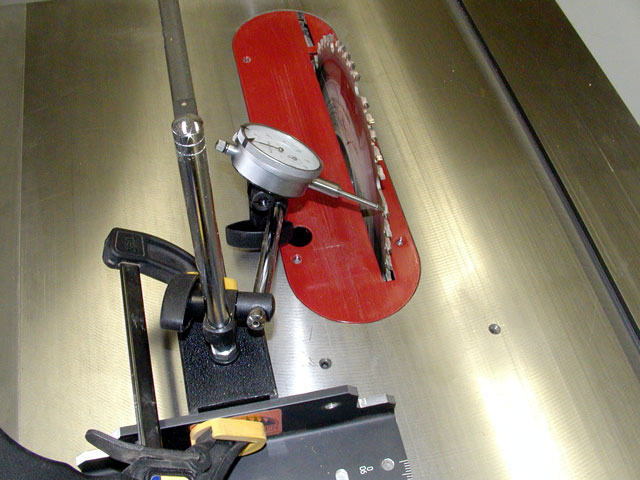 Slide the miter in the slot and watch the DI for variation. Most blades will have a dip in the middle, hollow ground, so ignore that. Check just inside a tooth at the other side of the blade. Make sure that they are neutral teeth that don't go in or out. Adjust the saw blade mounting assembly as required until it is perfect. I had to loosen four very large bolts under the table to make the alignment. Don't loosen them all the way and adjust it by tapping with a rubber mallet. Next align the fence to the grove. Set the DI up to just touch the fence. As you move from front to back watch the DI for any drift. If required adjust the fence. You may have to follow the manufacturers directions to do this. 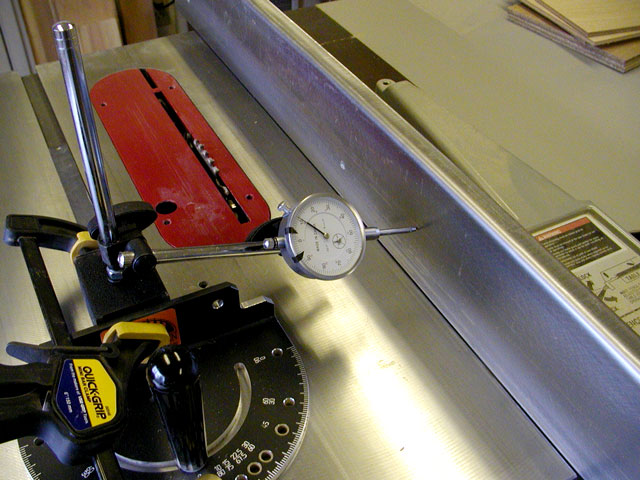
Now check the miter for square. Most miters have a positive stop for 90 degrees. Set the miter to 90 degrees and place a 90 degree triangle on the front of it. I taped mine to a small block of wood so the triangle would be up off the table. I placed another piece of wood to hold it up. 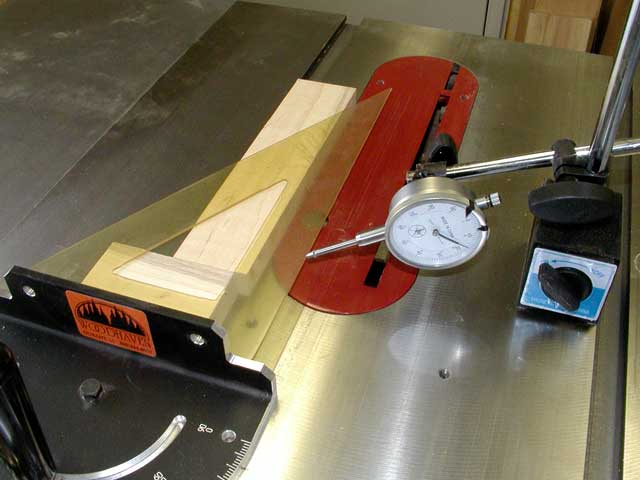
Now that we are square to the world we need to make sure the blade is perpendicular to the table. I like to use a ply tooth saw blade for this adjustment. You can also use a flat piece of metal with a hole for the arbor. 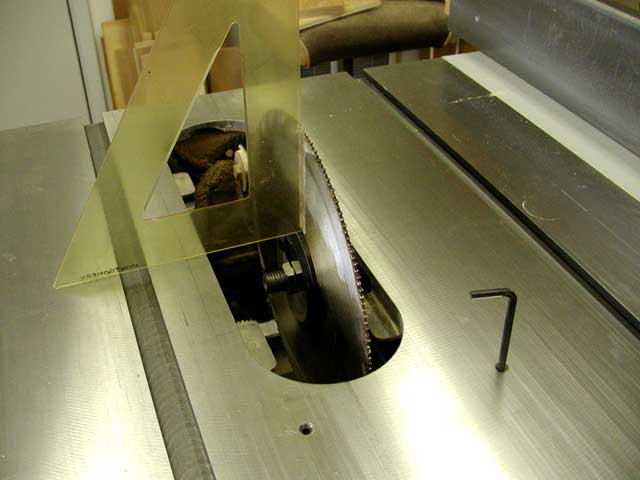 While you are at it you can set the 45 degree stop using a 45 degree triangle.
I like to lay down a light layer of paste wax. Different people have different feelings about wax. They are afraid that it will get into the wood grain and mess up the finish. I feel that if you use a light coat and rub it out really good you should not have a problem.
Now we'll move on to the drill press. 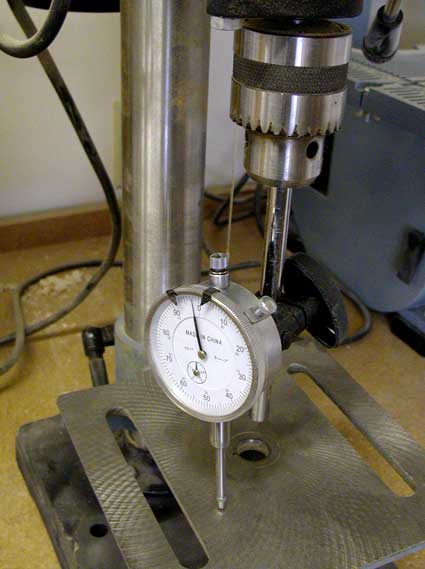
Next we'll check the table of the band saw. 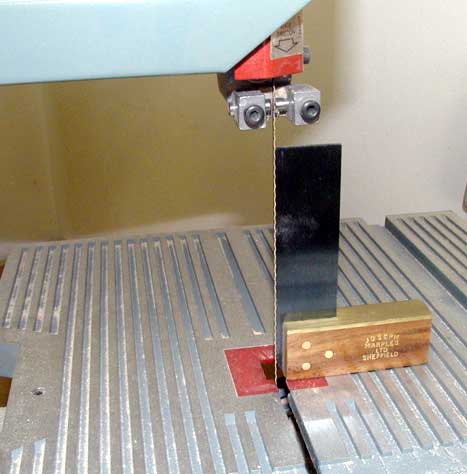
Lastly we'll check the miter saw. That should pretty much have things tuned up for our next project. |
|
The AllAmerican RunnerDuck Review Visit our Blog, www.runnerduckreview.wordpress.com, and sign up to receive notifications when it is updated. Our newsletter is a monthly blog with woodworking projects, crafts, recipes, and more. When you get to our blog just enter your email address and click "Sign Me Up". This is what it looks like:

|