

For more great plans click on the banner below.
|
|
I have been fighting my clamp storage for a long time along with trying to find a good place for sheet stock. My sheet stock leaned up against my roll-up door so that you would have to move it all in order to open the door. The final straw came when the top of my book case that my long clamps that had been hanging on collapsed dropping all my clamps on the floor.
I decided it was time to make some sort of storage rack that would hold both my clamps and my sheet wood. The following is what I came up with. Since every shop is different in allowable area I will just give general dimensions and show you what I did.
I started with a 3/4" piece of MDF cut 2' X 4'. As you are probably well aware 3/4" MDF is very heavy. Rather than try and muscle it up onto my table saw I used a couple of saw horses and a straight edge. I clamped my straight edge to the MDF and used my circular saw. 
I cut two pieces of 5/4" X 4" three inches wider than the width of my base. This is to allow for the wheels to be a little outboard for better stability. 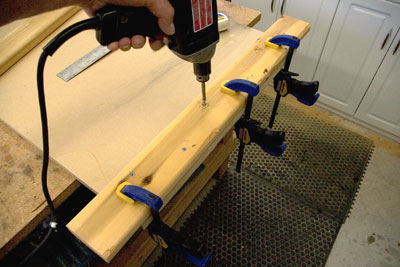 I cut two 2" X 2"s to fit the length of the base. 
These were glued and screwed flush with the edges.
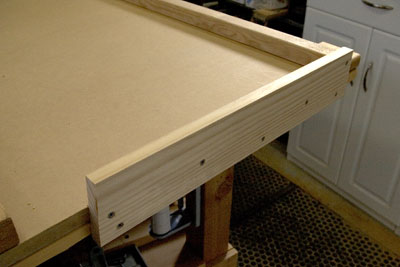
These are to hold the upright supports

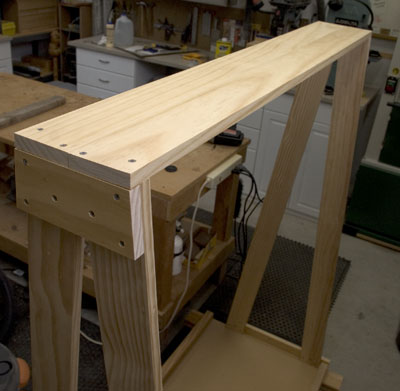
I cut top pieces out of 1" X 4" to hold the tops together.
 I cut two 1" X 4" pieces to fit on top of the supports.
 Next I added 1" X 4"s between the supports.
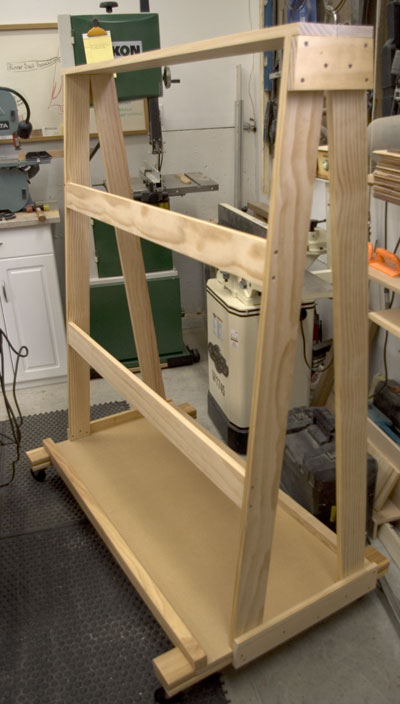
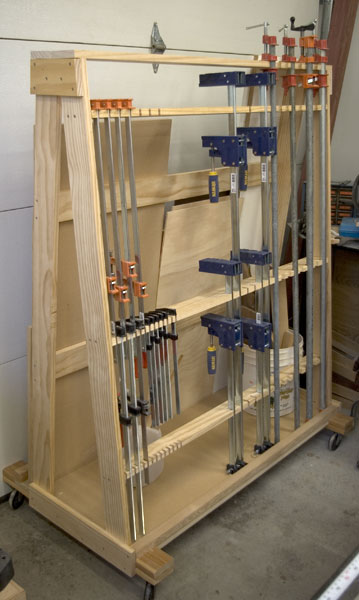
I placed these flush with the front sides of the supports. I spaced them so that they would hold different sizes of wood. The lower one was 17" up from the bottom and the top piece was at 38".
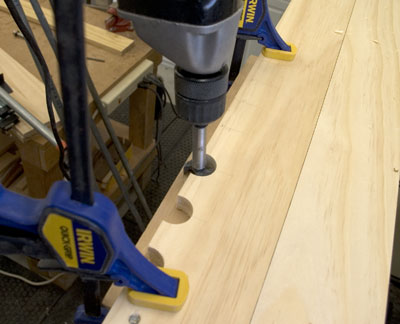 I made double the number of pipe clamps I have so I had some room for growth. I backed the top using a piece of scrap and clamps. To make the cutouts I used forstner bits that matched my pipe diameter. I started the holes 1/8" in from the edge so that the bit point would have some room to track down through the wood.
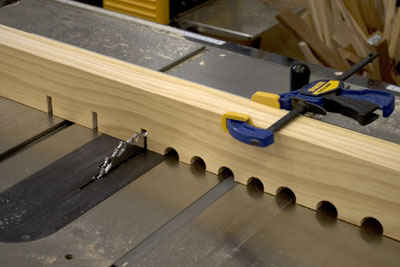
 16-Pc. Forstner Bit Set I made two clamp guides from 1" X 4" by ganging them together and running them through my table saw using my box joint cutter blade.
 Freud Box Joint Cutter Set
I really like this blade set because the bottom of the cut is square.
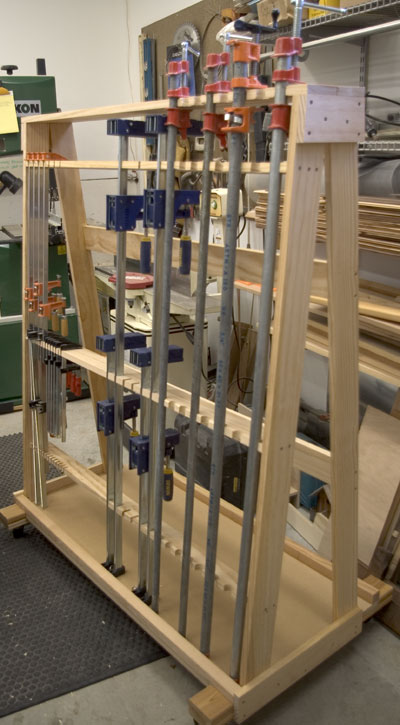 I added quite a few more slots than the number of clamps that I have. I figure I'll be getting more in the future, you can never have too many clamps! That's about it. We hope you liked this project. If you build it and your friends ask where you got such a clever idea, please tell them that you got it at RunnerDuck.com. |

|
The AllAmerican RunnerDuck Review Visit our Blog, www.runnerduckreview.wordpress.com, and sign up to receive notifications when it is updated. Our newsletter is a monthly blog with woodworking projects, crafts, recipes, and more. When you get to our blog just enter your email address and click "Sign Me Up". This is what it looks like:

|